
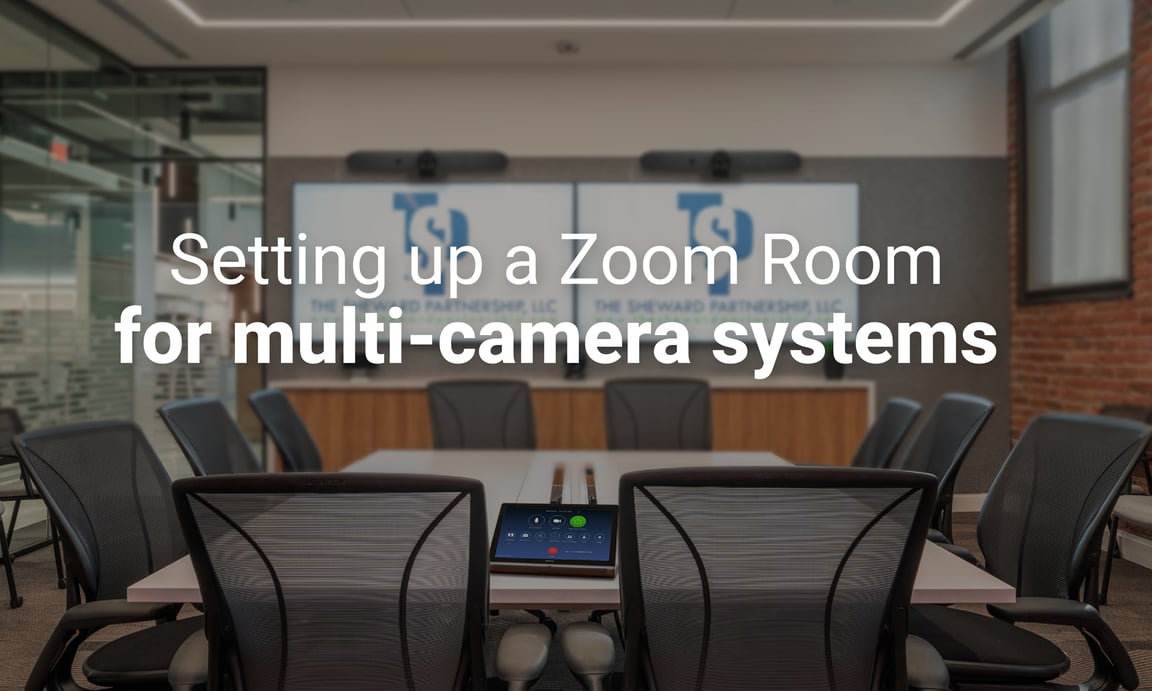
Here’s a quick run-through on how to set up Zoom to support multiple camera views simultaneously. It’s actually a pretty straightforward process so once the physical installation is completed, you should be able to configure Zoom with a few clicks of the mouse and be up and running in no time.
A step-by-step guide to help you set up a Zoom Room for multi-camera systems:
1. Choose your cameras:
Before you start setting up your Zoom Room, you need to select the cameras you will use. Be sure to check whether the cameras you choose are compatible with your Zoom Room and can deliver high-quality video. A list of Zoom certified cameras can be found on Zoom's website.
2. Install the cameras:
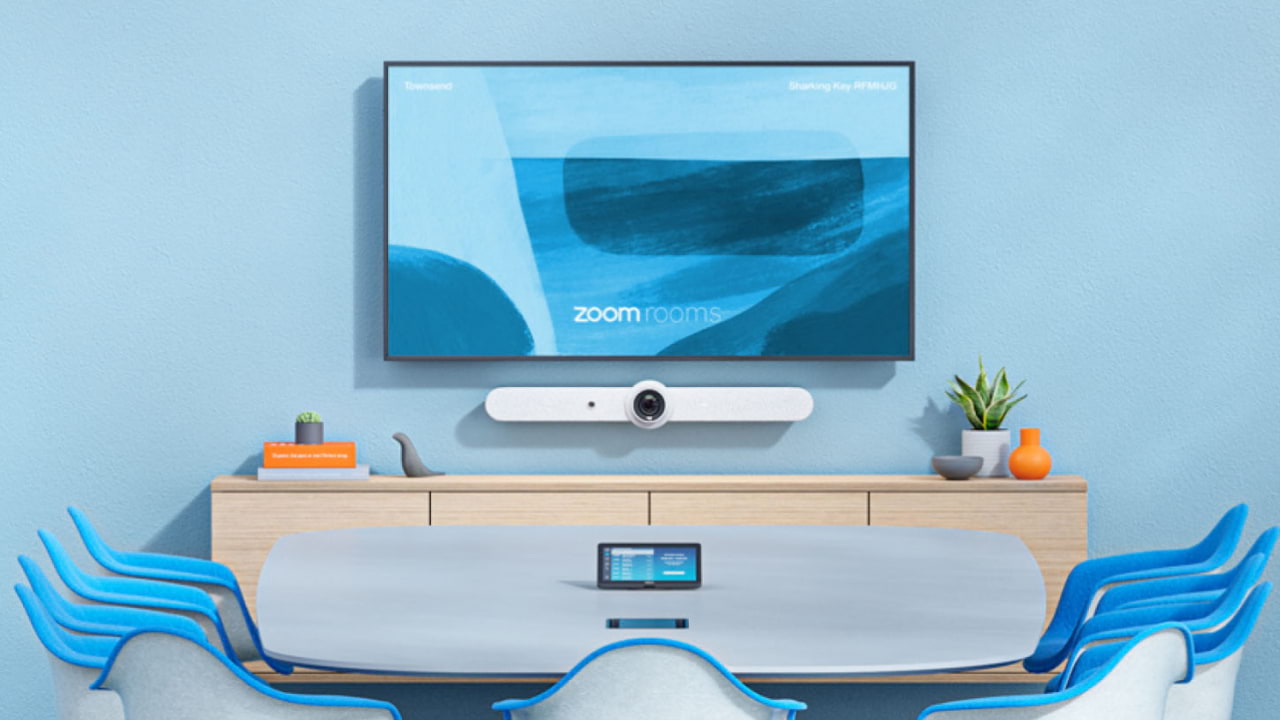
Once you have chosen your cameras, you will need to install them in the room. Make sure you position the cameras in such a way that they can capture different angles and provide a clear view of the participants. Connect your cameras to your PC using a USB or HDMI cable.
3. Install Zoom Room software:
To set up a Zoom Room, you will need to install the Zoom Room software on your computer. You can download the software from the Zoom website and follow the installation instructions.
4. Configure the Zoom Room settings:
Once you have installed the Zoom Room software, you will need to configure the settings to use your multi-camera system.
- To begin, go to the Zoom Room web portal. You will need administrator access to your company’s Zoom account for this.
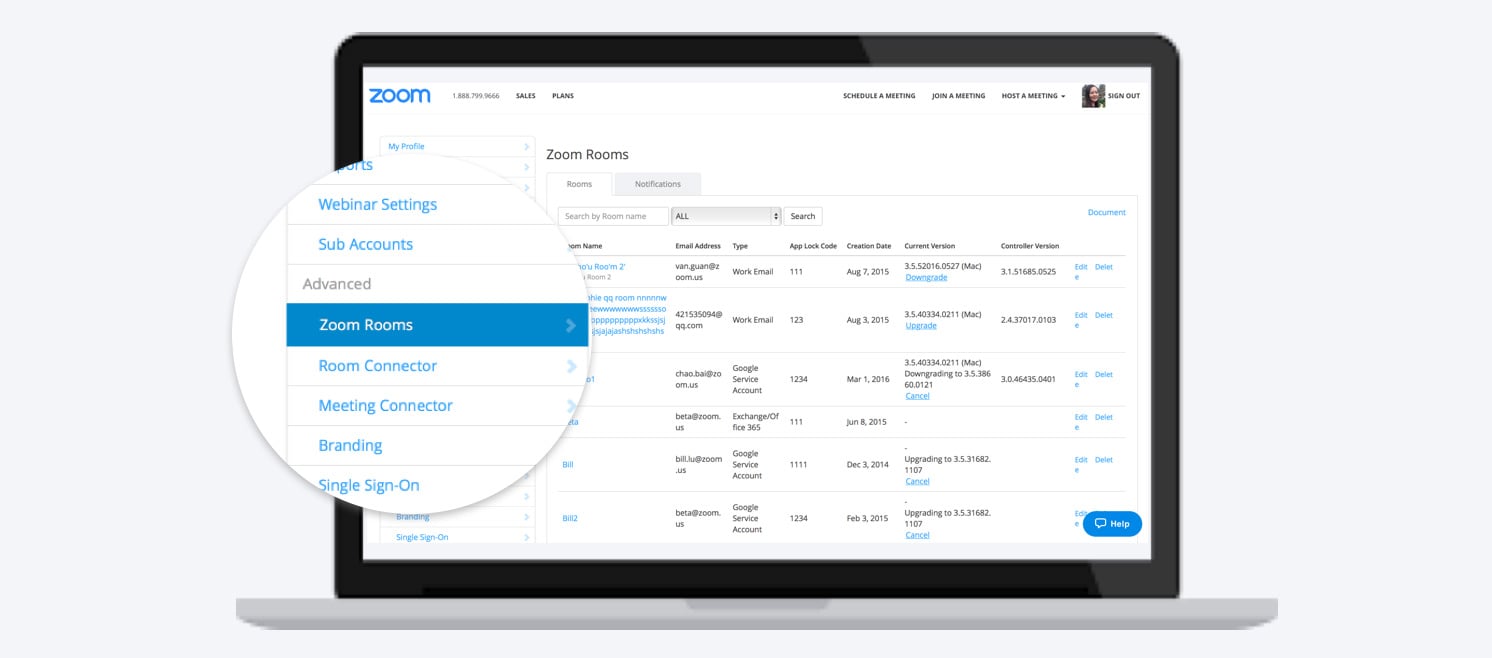
- Click Room Management, then click Zoom Rooms. You can choose to enable Multi-Camera mode account wide, per location, or on a room by room basis. Navigate to the hierarchy level where you want to enable Multi-Camera, click on the settings button, then click Devices and scroll down to click the toggle button next to Allow Multi-Camera Mode.
- You can also choose the mode of your primary camera. The options for that are the following:
- Manual Mode
- Speaker Focus - Zoom in on current speaker
- Auto-Framing - Auto-frame a group of people at once
- Multi-Stream - Show a split screen view of all your cameras
- Speaker Switching - switch between cameras automatically based on which microphone is picking up sound
- Certain settings related to the specific cameras in the room can only be set at the room level. You can choose which camera will be the primary one and choose which of the secondary cameras you would like to include in Multi-Stream or Speaker Switching views as well as select the Default camera mode for each secondary camera - Manual, Manual With Preset, or Auto-Framing.
5. Test your setup:
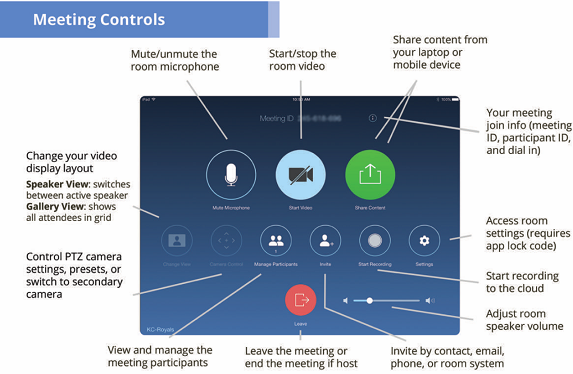
After configuring the settings, test your setup. Start or join a meeting from your Zoom Rooms controller, tap Camera Control, use the available options to configure the camera feed. To switch between cameras, tap Switch Camera. A menu will display all available cameras. Tap a camera name to select that camera, which will immediately become active. You can do this any time you want to change the active camera.
You Should Be Good to Go!
By following these steps, you should be able to easily set up a Zoom Room for multi-camera systems. With a little practice, you'll be able to switch between camera angles smoothly and deliver a professional-quality video conference experience.